
Tkinter Mini Project in Python
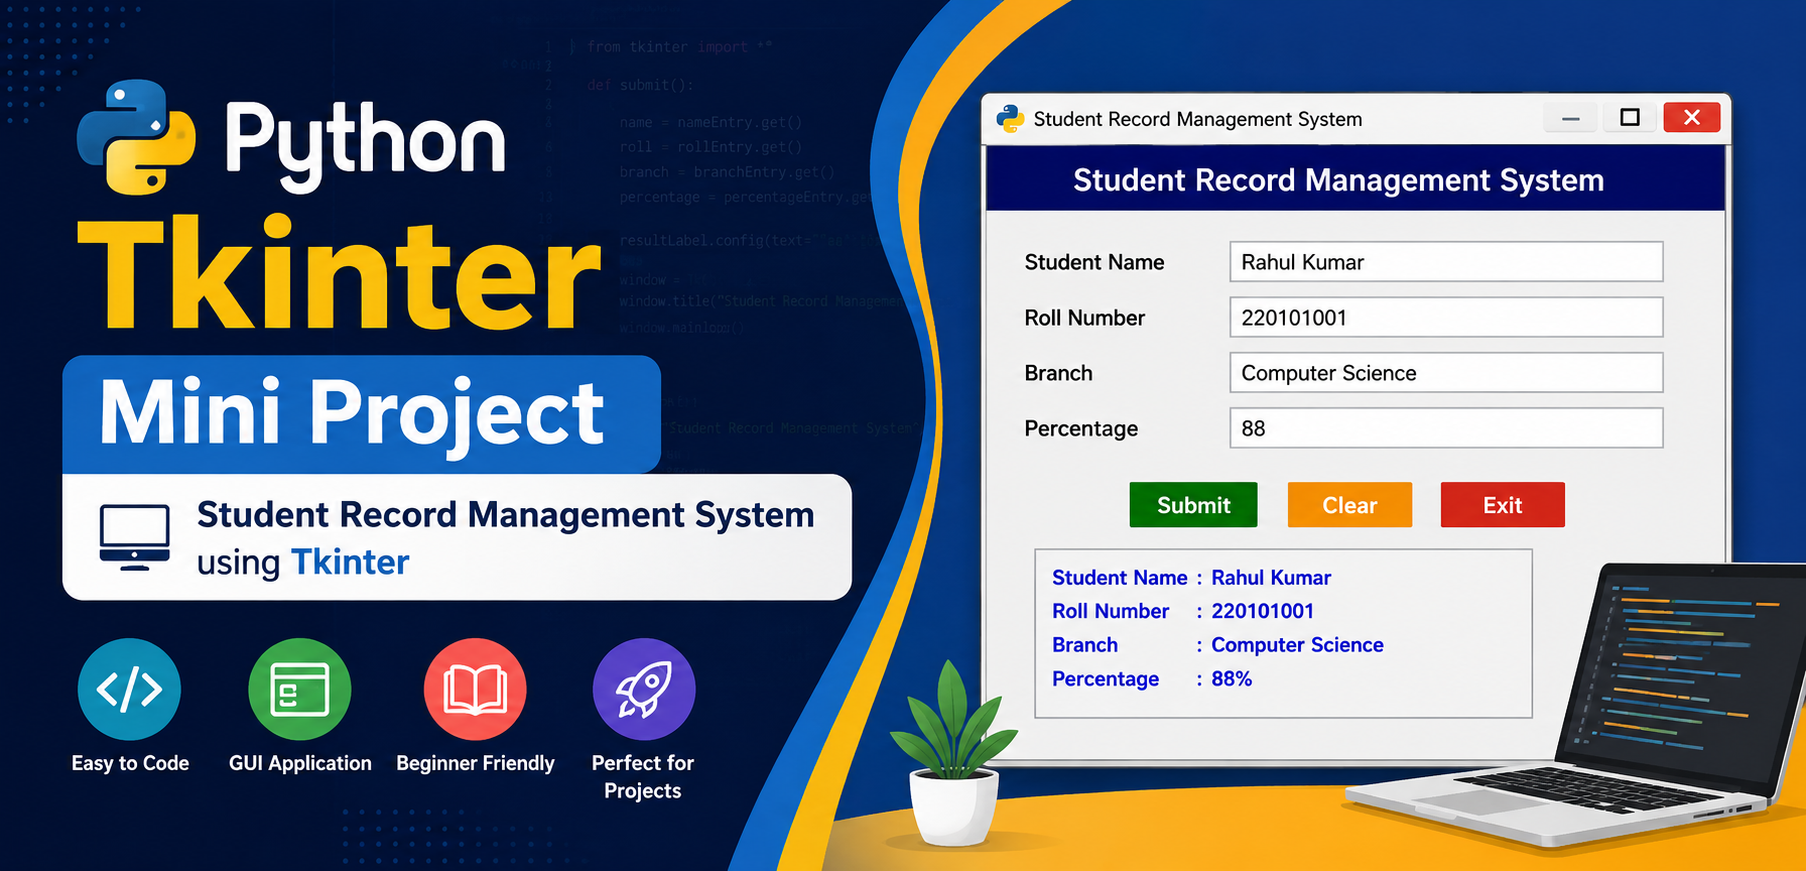
Student Record Management System using Tkinter
Tkinter is Python's standard Graphical User Interface (GUI) library that allows developers to build desktop applications with windows, buttons, labels, text boxes, menus and many other GUI components. In this tutorial, we shall develop a simple Student Record Management System. This project demonstrates how Python and Tkinter can be used to create professional desktop applications without using any third-party library.
Learning Objectives
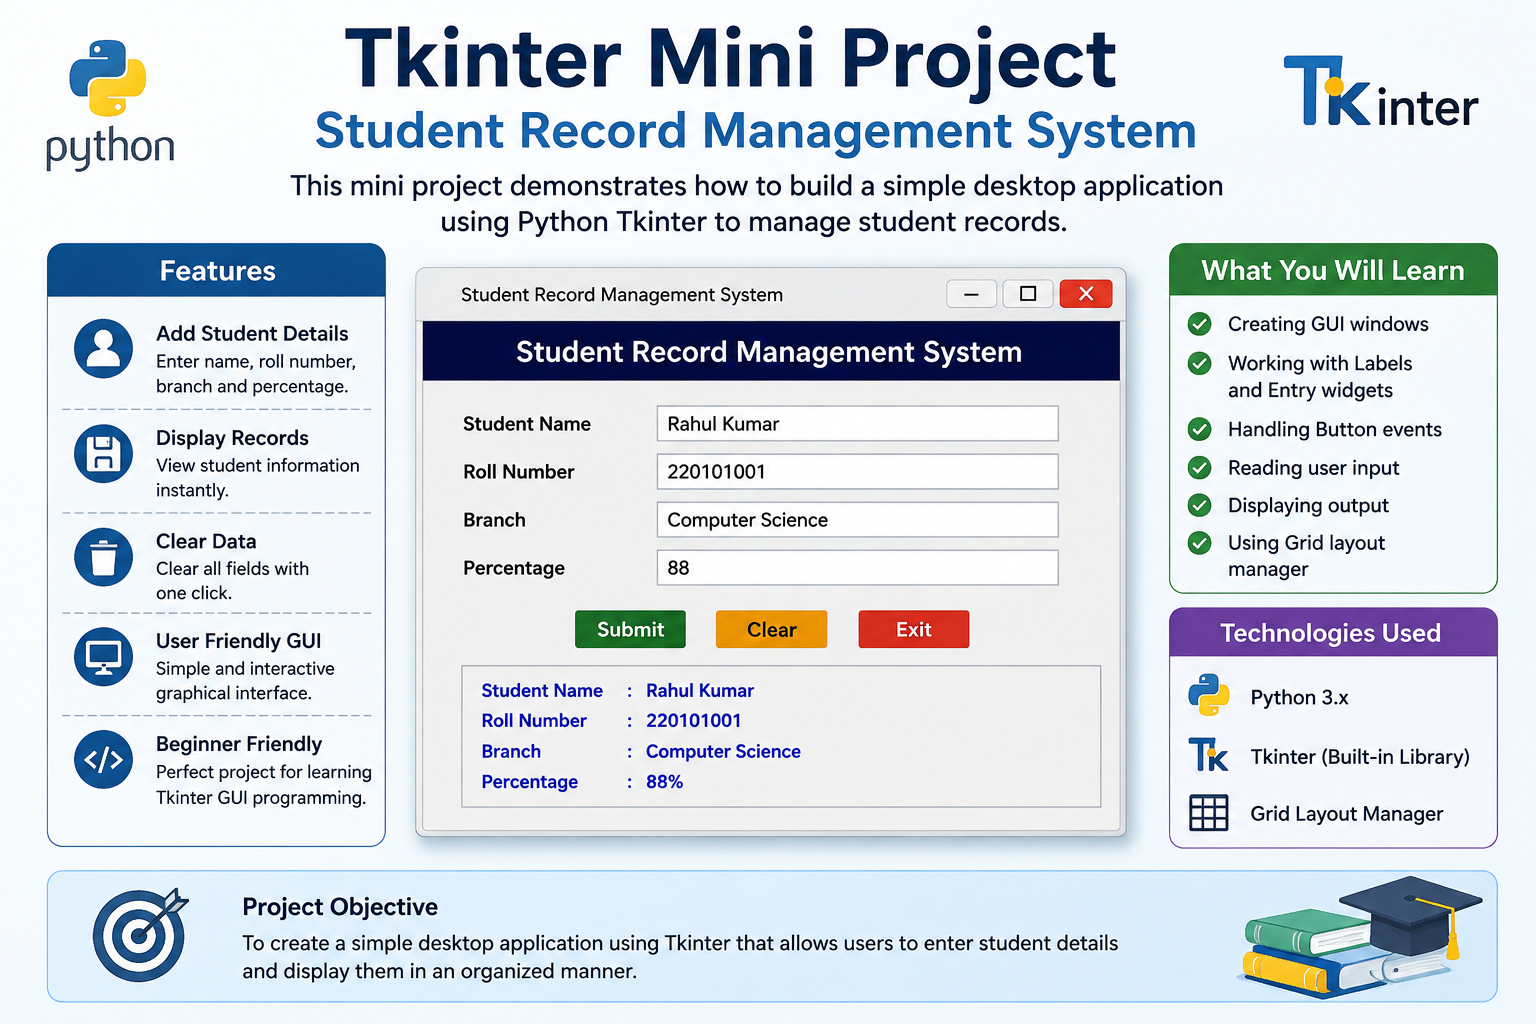
After completing this project you will learn:
- Creating GUI applications using Tkinter
- Creating Labels and Entry Widgets
- Using Buttons
- Reading User Input
- Displaying Output
- Event Handling
- Using Grid Layout Manager
- Developing Beginner GUI Applications
Software Requirements
| Software | Requirement |
|---|---|
| Python | Python 3.x |
| Tkinter | Built-in Library |
| Editor | IDLE / VS Code / PyCharm |
| Operating System | Windows / Linux / macOS |
Mini Project Features
- Simple GUI Window
- Student Name Entry
- Roll Number Entry
- Branch Entry
- Percentage Entry
- Submit Button
- Display Student Information
- Easy to Understand Source Code
Project Flow
- Create the Main Window
- Create Labels
- Create Entry Boxes
- Create Submit Button
- Read User Input
- Display Student Details
Complete Python Program
The following Python program creates a simple Student Record Management System using Tkinter.
from tkinter import *

window = Tk()

window.title("Student Record Management System")

window.geometry("700x500")

window.configure(bg="white")
Step 1 : Import Tkinter Library
The first step is to import the Tkinter library. Python provides Tkinter as a built-in module, so no additional installation is required.
from tkinter import *
Step 2 : Create the Main Window
The Tk() function creates the main application window. We also set the window title, size and background color.
window = Tk()

window.title("Student Record Management System")

window.geometry("700x500")

window.configure(bg="white")
Step 3 : Create Heading
The heading makes the application more attractive and user friendly.
heading = Label(
    window,
    text="Student Record Management System",
    font=("Arial",20,"bold"),
    bg="navy",
    fg="white",
    pady=10
)

heading.pack(fill=X)
Step 4 : Create Labels
Now create labels for all student details.
nameLabel = Label(
    window,
    text="Student Name",
    font=("Arial",12)
)

rollLabel = Label(
    window,
    text="Roll Number",
    font=("Arial",12)
)

branchLabel = Label(
    window,
    text="Branch",
    font=("Arial",12)
)

percentageLabel = Label(
    window,
    text="Percentage",
    font=("Arial",12)
)
Step 5 : Create Entry Widgets
Entry widgets are used to receive input from the user.
nameEntry = Entry(
    window,
    width=35,
    font=("Arial",12)
)

rollEntry = Entry(
    window,
    width=35,
    font=("Arial",12)
)

branchEntry = Entry(
    window,
    width=35,
    font=("Arial",12)
)

percentageEntry = Entry(
    window,
    width=35,
    font=("Arial",12)
)
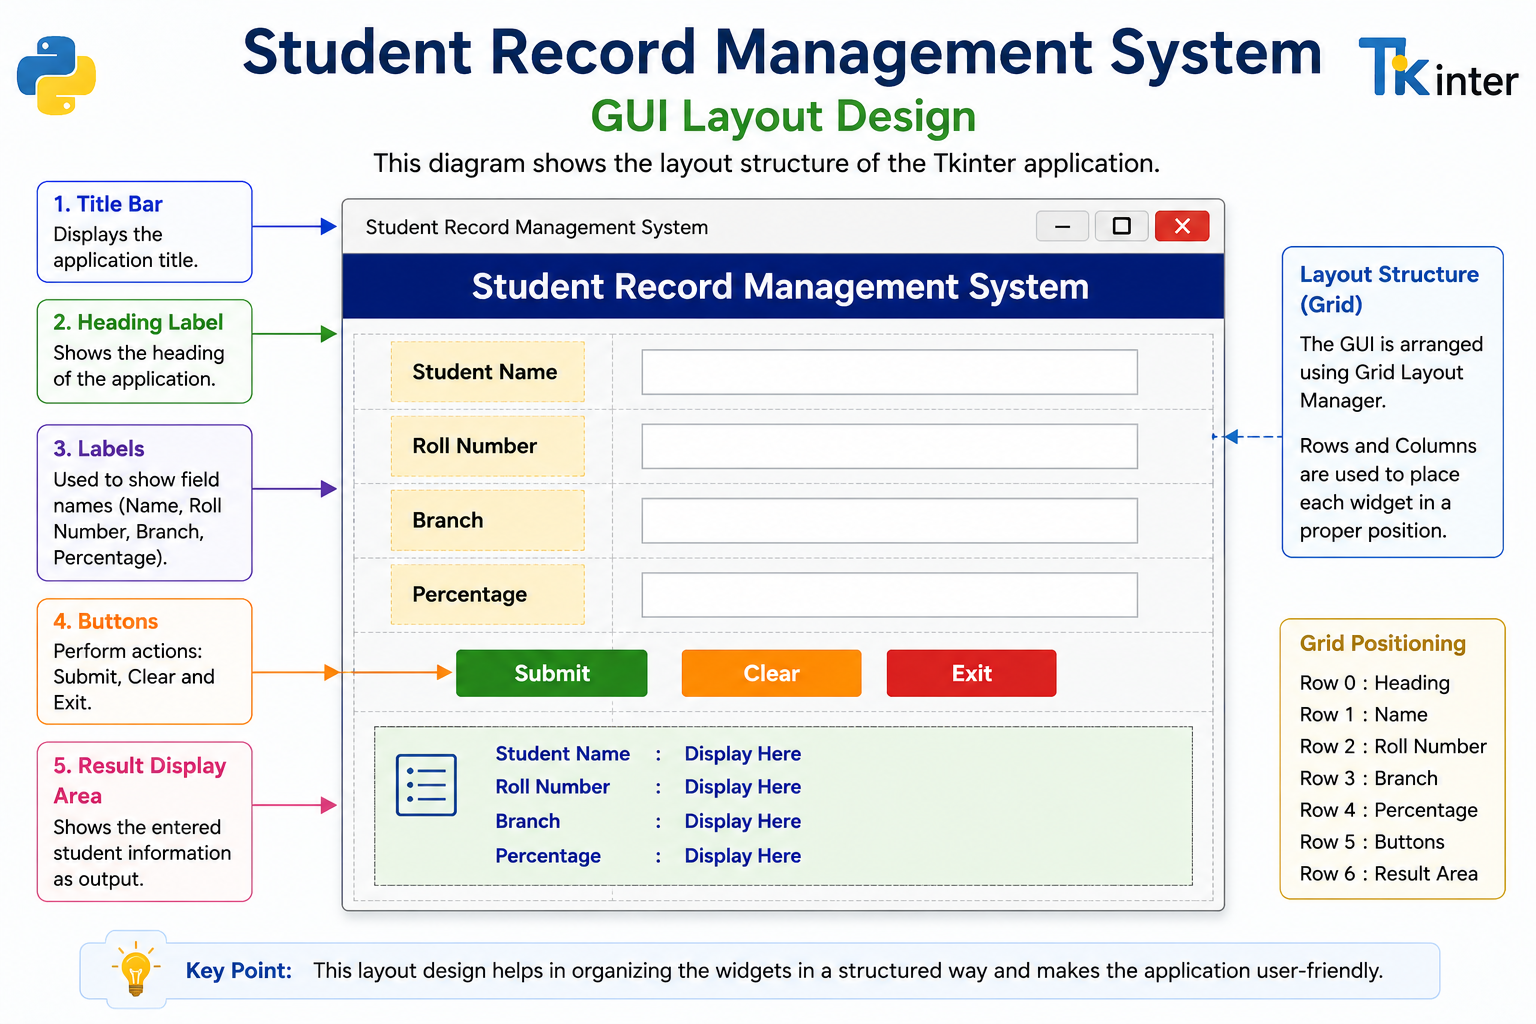
Step 6 : Arrange Widgets using Grid Layout
The grid() layout manager arranges the widgets in rows and columns.
nameLabel.grid(row=1,column=0,padx=20,pady=15,sticky=W)
nameEntry.grid(row=1,column=1,padx=20,pady=15)

rollLabel.grid(row=2,column=0,padx=20,pady=15,sticky=W)
rollEntry.grid(row=2,column=1,padx=20,pady=15)

branchLabel.grid(row=3,column=0,padx=20,pady=15,sticky=W)
branchEntry.grid(row=3,column=1,padx=20,pady=15)

percentageLabel.grid(row=4,column=0,padx=20,pady=15,sticky=W)
percentageEntry.grid(row=4,column=1,padx=20,pady=15)

Step 7 : Create the Submit Function
The submit() function reads all the values entered by the user and displays them inside the application window.
def submit():

    name = nameEntry.get()

    roll = rollEntry.get()

    branch = branchEntry.get()

    percentage = percentageEntry.get()

    resultLabel.config(

        text="Student Name : " + name +
        "\nRoll Number : " + roll +
        "\nBranch : " + branch +
        "\nPercentage : " + percentage + "%"

    )
Step 8 : Create the Submit Button
Whenever the user clicks the Submit button, the submit() function is executed.
submitButton = Button(

    window,

    text="Submit",

    font=("Arial",12,"bold"),

    bg="green",

    fg="white",

    width=15,

    command=submit

)

submitButton.grid(

    row=5,

    column=1,

    pady=20

)
Step 9 : Create the Output Label
The output label displays the complete student information.
resultLabel = Label(

    window,

    text="",

    font=("Arial",12),

    fg="blue",

    justify=LEFT

)

resultLabel.grid(

    row=6,

    column=0,

    columnspan=2,

    padx=20,

    pady=20,

    sticky=W

)
Step 10 : Run the Application
The following statement starts the Tkinter event loop.
window.mainloop()
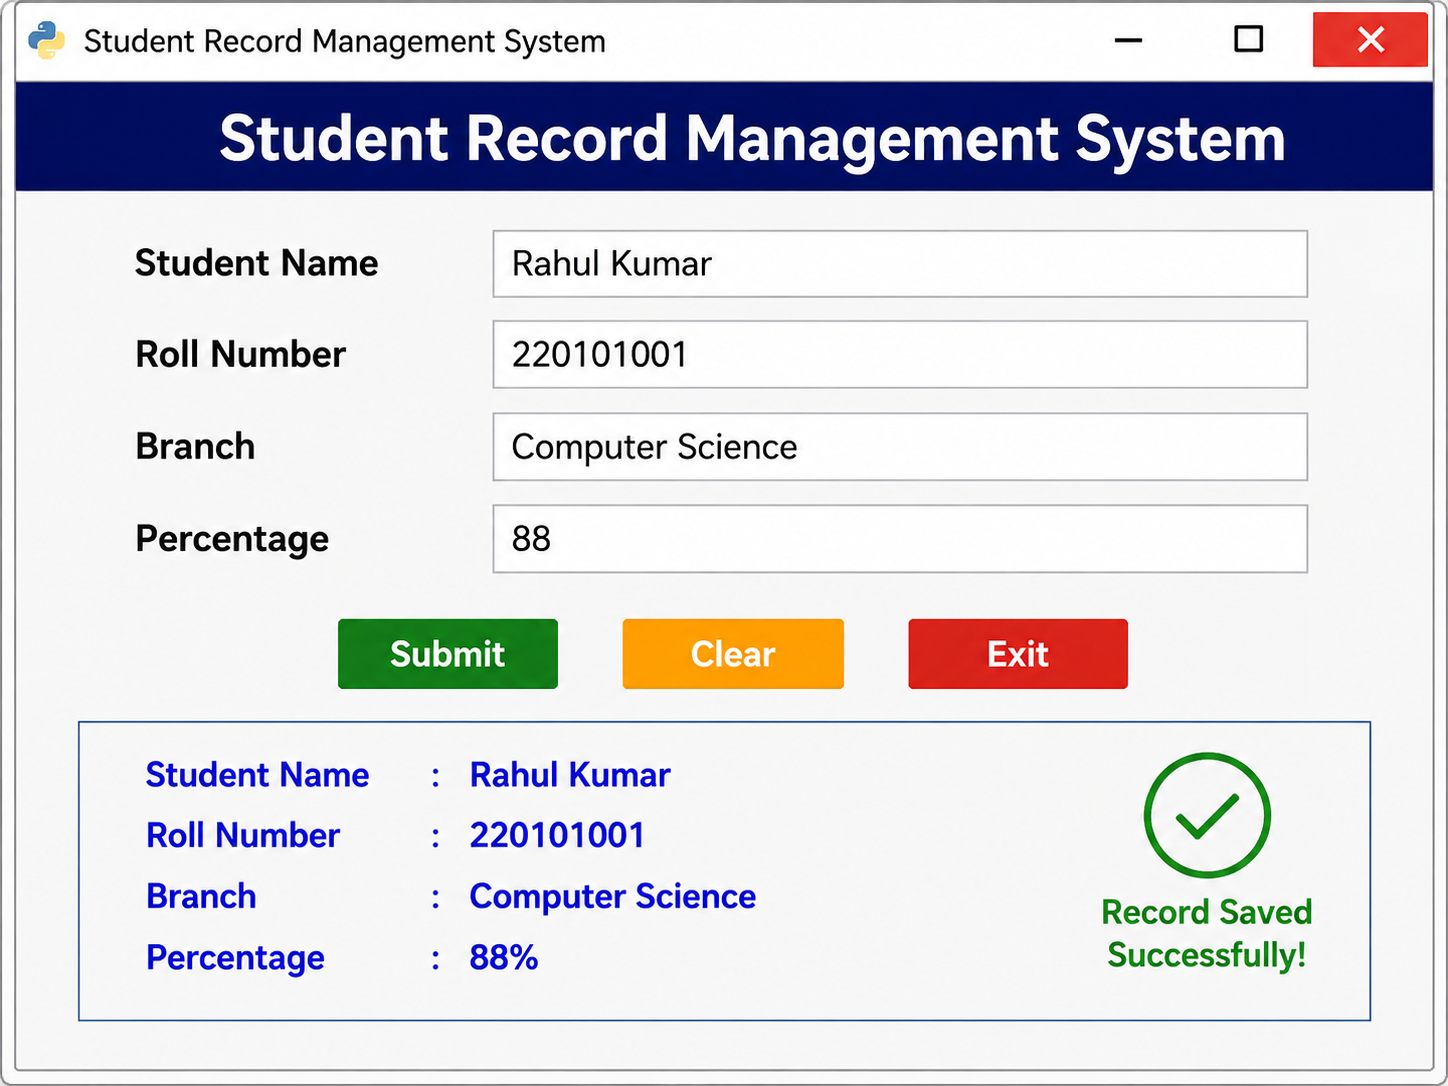
Sample Output
| Field | Value |
|---|---|
| Student Name | Rahul Kumar |
| Roll Number | 220101001 |
| Branch | Computer Science |
| Percentage | 88% |
Complete Python Source Code
The following program combines all the previous steps into one complete Tkinter Mini Project. You can copy and execute this program directly in IDLE, VS Code or PyCharm.
from tkinter import *

def submit():

    name = nameEntry.get()

    roll = rollEntry.get()

    branch = branchEntry.get()

    percentage = percentageEntry.get()

    resultLabel.config(

        text="Student Name : " + name +
        "\nRoll Number : " + roll +
        "\nBranch : " + branch +
        "\nPercentage : " + percentage + "%"

    )

def clear():

    nameEntry.delete(0,END)

    rollEntry.delete(0,END)

    branchEntry.delete(0,END)

    percentageEntry.delete(0,END)

    resultLabel.config(text="")

window = Tk()

window.title("Student Record Management System")

window.geometry("700x520")

window.configure(bg="white")

Label(window,

text="Student Record Management System",

font=("Arial",20,"bold"),

bg="navy",

fg="white",

pady=10).pack(fill=X)

nameLabel=Label(window,text="Student Name",font=("Arial",12))
rollLabel=Label(window,text="Roll Number",font=("Arial",12))
branchLabel=Label(window,text="Branch",font=("Arial",12))
percentageLabel=Label(window,text="Percentage",font=("Arial",12))

nameEntry=Entry(window,width=35,font=("Arial",12))
rollEntry=Entry(window,width=35,font=("Arial",12))
branchEntry=Entry(window,width=35,font=("Arial",12))
percentageEntry=Entry(window,width=35,font=("Arial",12))

nameLabel.grid(row=1,column=0,padx=20,pady=15,sticky=W)
nameEntry.grid(row=1,column=1,padx=20,pady=15)

rollLabel.grid(row=2,column=0,padx=20,pady=15,sticky=W)
rollEntry.grid(row=2,column=1,padx=20,pady=15)

branchLabel.grid(row=3,column=0,padx=20,pady=15,sticky=W)
branchEntry.grid(row=3,column=1,padx=20,pady=15)

percentageLabel.grid(row=4,column=0,padx=20,pady=15,sticky=W)
percentageEntry.grid(row=4,column=1,padx=20,pady=15)

Button(window,

text="Submit",

bg="green",

fg="white",

width=15,

command=submit).grid(row=5,column=1,pady=10)

Button(window,

text="Clear",

bg="orange",

fg="white",

width=15,

command=clear).grid(row=5,column=2,padx=10)

resultLabel=Label(

window,

text="",

font=("Arial",12),

fg="blue",

justify=LEFT

)

resultLabel.grid(

row=6,

column=0,

columnspan=3,

padx=20,

pady=20,

sticky=W

)

window.mainloop()
Advantages of this Mini Project
- Easy to understand for beginners.
- Demonstrates GUI programming using Tkinter.
- Shows event handling using Buttons.
- Uses Labels, Entry widgets and Grid Layout.
- Suitable for AKTU Practical Examination.
- Can be extended into a complete database project.
Applications
- Student Record Management
- College Projects
- Employee Information System
- Library Management System
- Hospital Registration System
- Desktop GUI Applications
Viva Questions
- What is Tkinter?
- What is the purpose of Tk()?
- What is mainloop()?
- What is the difference between pack() and grid()?
- What is an Entry widget?
- How do you create a Button?
- What is event handling?
- Why is Tkinter called a GUI toolkit?
- How do you read data from an Entry widget?
- Which layout managers are available in Tkinter?
Interview Questions
- Explain Tkinter architecture.
- Difference between Tkinter and PyQt.
- How are widgets created in Tkinter?
- How do callback functions work?
- What is the purpose of geometry()?
- How do you change widget colors?
- How do you display images in Tkinter?
- How do you create menus in Tkinter?