Install PyCharm Python IDE in Windows, Mac OS X, Linux/Unix
In the previous tutorials we have seen the Python introduction and installation. In this guide, we will learn how to install PyCharm (a popular IDE for Python programming).
If you are new to programming then you may be wondering what do we mean by IDE? IDE stands for integrated development environment. It is a software that consolidates the basic tools that are required to write and test programs in a certain language. Typically, an IDE contains a code editor, a compiler or interpreter and a debugger that you can access at the same place through IDE GUI.
PyCharm Installation
1. Go to this link: https://www.jetbrains.com/pycharm/download/ and download the community edition.
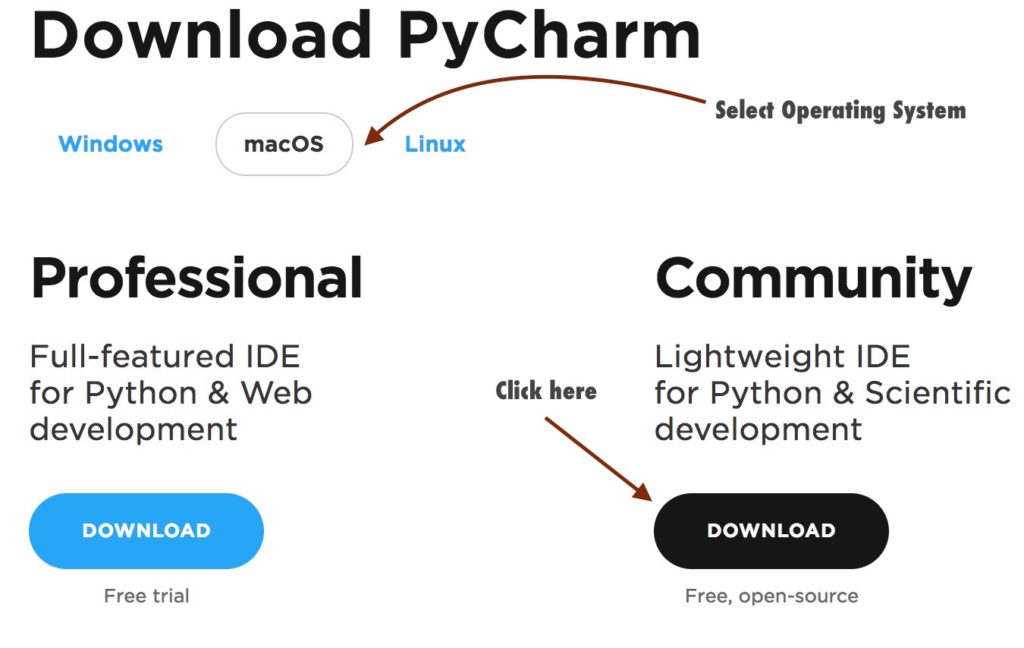
2. Install the downloaded file
Mac: Double click the .dmg file and drag PyCharm to the Application Folder.
Windows: Double click the .exe file and follow the installation steps for the default PyCharm installation.
Launch PyCharm
Mac: Go to the Applications folder and click on the PyCharm icon. Alternatively, you can drag the icon to your dock to open the IDE quickly by clicking on the icon in dock.
Windows: If you have followed the default installation process then you can see the PyCharm icon on your desktop. If you don’t find the icon then go to the PyCharm folder – C:\Program Files (x86)\JetBrains\PyCharm 2017.1\bin (the path may be different for your system) and click on the PyCharm.exe file to launch the IDE
Whats Next
We will create a Python project in PyCharm IDE in the next tutorial.
Leave Comment