Macromedia Dreamweaver Installation with Life Time Key
Macromedia Dreamwevaer is a web development and designing tool by Adobe. You can check the full installation steps in the above video.
Dreamweaver is an IDE (Integrated Development Environment). That means it's a piece of software that combines different tools to make web design and development easier. What makes it special is that it is somewhere between a CMS (where you control everything about your website through a visual interface) and a pure code editor.
Create Websites through a Visual Design Interface
The visual design toolbox basically lets you build websites with your mouse. It allows you to place website elements the way you create a layout in Word. Basically, you see your website as you would see in a browser but also have the ability to manipulate it. This is very useful because it allows you to build the skeleton of a website quickly and without the need to write a single line of code. Instead, Dreamweaver will automatically create the necessary code for you. That way, theoretically, you can put together an entire website by hand and upload it to your server. On the other hand, if you are capable of coding, Dreamweaver has all the necessary tools for that too.
Works as a Full-fledged Code Editor
The second part of Dreamweaver is a fully-featured code editor. It comes equipped with all the standard functions, including:
Syntax highlighting - That means Dreamweaver highlights different elements (such as operators, variables, etc.) in different colors in order to make the code easier to read and correct.
Code Completion - Code completion works in a similar way as autocomplete on your phone. Start typing and the editor will make suggestions for what you are trying to write. That way, you don't have to type everything out completely.
Code collapsing - Code collapsing is another feature for making code easier to read. It allows you to visually shrink parts of your code when you don't need them. That way, you don't have to scroll through the entire file but can only deal with the parts you need to work on.
The best part: if you change anything in your code, Dreamweaver will automatically display it on the visual side as well. That way, you can see it without having to upload your files to a server or fire up the browser.
Dreamweaver Setup and Website Designing Process (Step-by-Step)
You can download the dreamweaver from Adobe Official Web site. You can also follow the link to download the full version of Dreamweaver from here.
Step 1. Download and Install
When you get the program from the official website, just download the installation file, execute it and follow the instructions.You can watch the full installation step in the above video as well.
Step 2. First Startup
When you first start Dreamweaver, you will see this screen.
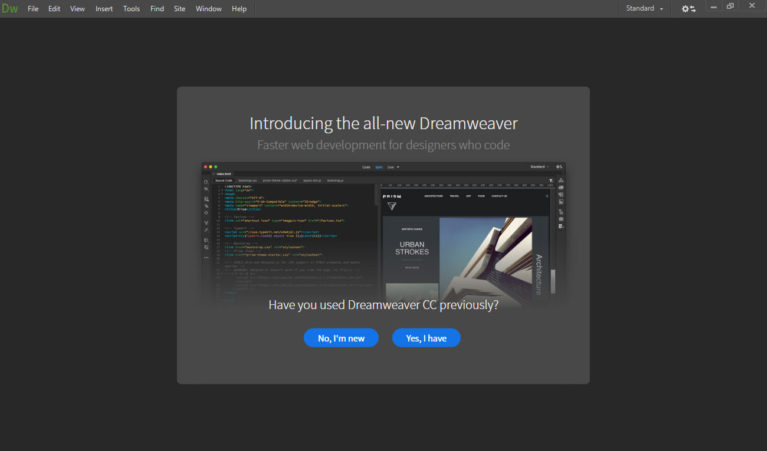
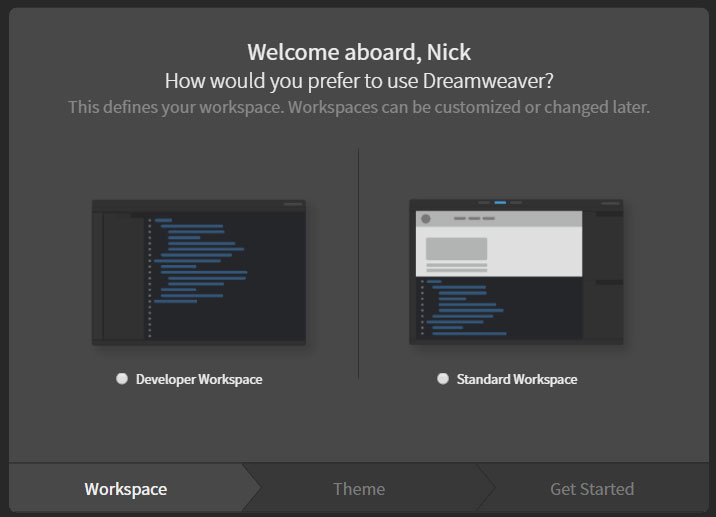
If you have never used the program before, choose No, I'm new. When you do, Dreamweaver leads you through a setup wizard. The first step is to choose whether to use the workspace for developers or a standard workspace.
In my forth coming tutorials , I will explain you how to work with dreamweaver


Leave Comment